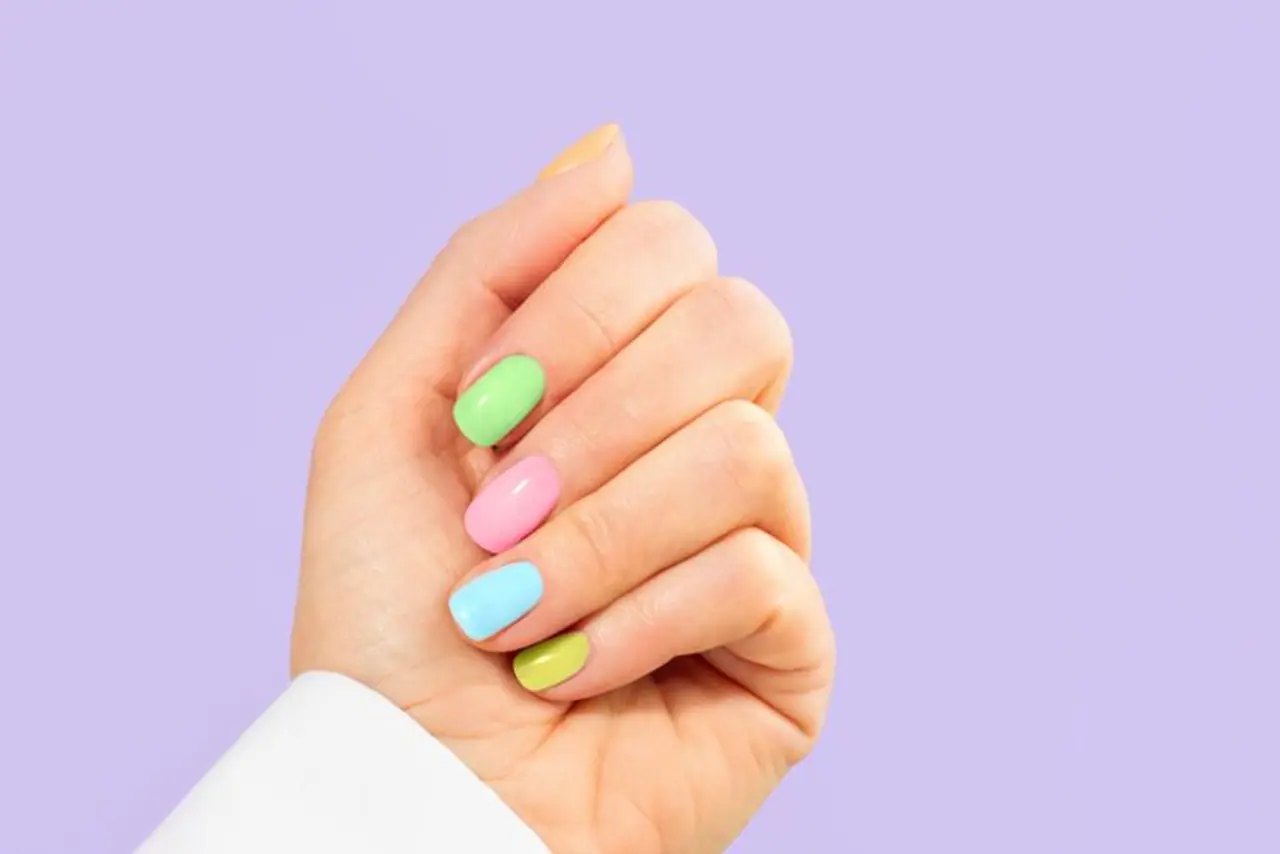
Want amazing nail pop colours? Here's how to make nailpolish at home
Making nail polish at home can be a fun DIY project, but it's important to note that creating a nail polish formula from scratch can be challenging, as it involves mixing various ingredients to achieve the right consistency, color, and durability.

Image: Getty
Commercial nail polishes are formulated using specialized equipment and expertise to ensure they adhere well, dry evenly, and last on the nails. However, if you're interested in experimenting with creating your own nail polish, here's a basic guide:

Image: Getty
Clear Nail Polish Base: You can purchase a clear nail polish base online or at beauty supply stores. This base provides the fluidity and adhesion needed for nail polish.
Image: Getty
Pigments: You can use cosmetic pigments, eyeshadow, or even mica powders to create color. Make sure the pigments are safe for use on the skin.
Image: Getty
Mixing Tools: A small mixing bowl, stirring sticks, and droppers will help you blend the ingredients properly.
Image: Getty
Small Funnel: This will help you pour the nail polish mixture into the nail polish bottle without spills.
Image: Getty
Choose Your Color:
- Decide on the color you want your nail polish to be.
- If you're using pigments, select the colors you want and have them ready.
Mixing:
- Start with a clear nail polish base in your mixing bowl.
- Add the pigments or mica powders slowly, mixing as you go. The amount you add will determine the color intensity.
- Mix thoroughly to ensure the color is evenly distributed in the base.
Image: Getty
Testing:
- Test the color on a piece of paper or a nail wheel to see how it dries and appears on the nails.
Pouring:
- Use a small funnel to carefully pour the nail polish mixture into the empty nail polish bottle.
Image: Getty
Applying: Apply the homemade nail polish just like you would with regular nail polish. Make sure to use a base coat before applying the polish and finish with a top coat for longevity and shine.
Drying: Let the nail polish dry completely between coats and before adding a top coat.
Explore the latest Lifestyle News covering fashion, wellness, travel, Food and Recipes, and more. Stay updated with trending Health News, fitness tips, and expert insights to inspire your daily living. Discover personalized lifestyle trends that keep you stylish and informed. Download the Asianet News Official App for everything that adds value to your everyday life.