How to Make Perfect Curd at Home: Pro Tips for Thick, Creamy Indian Dahi Every Time
You can easily make hotel-style thick and creamy curd at home instead of buying packets every day. We explain the simple step-by-step method below.
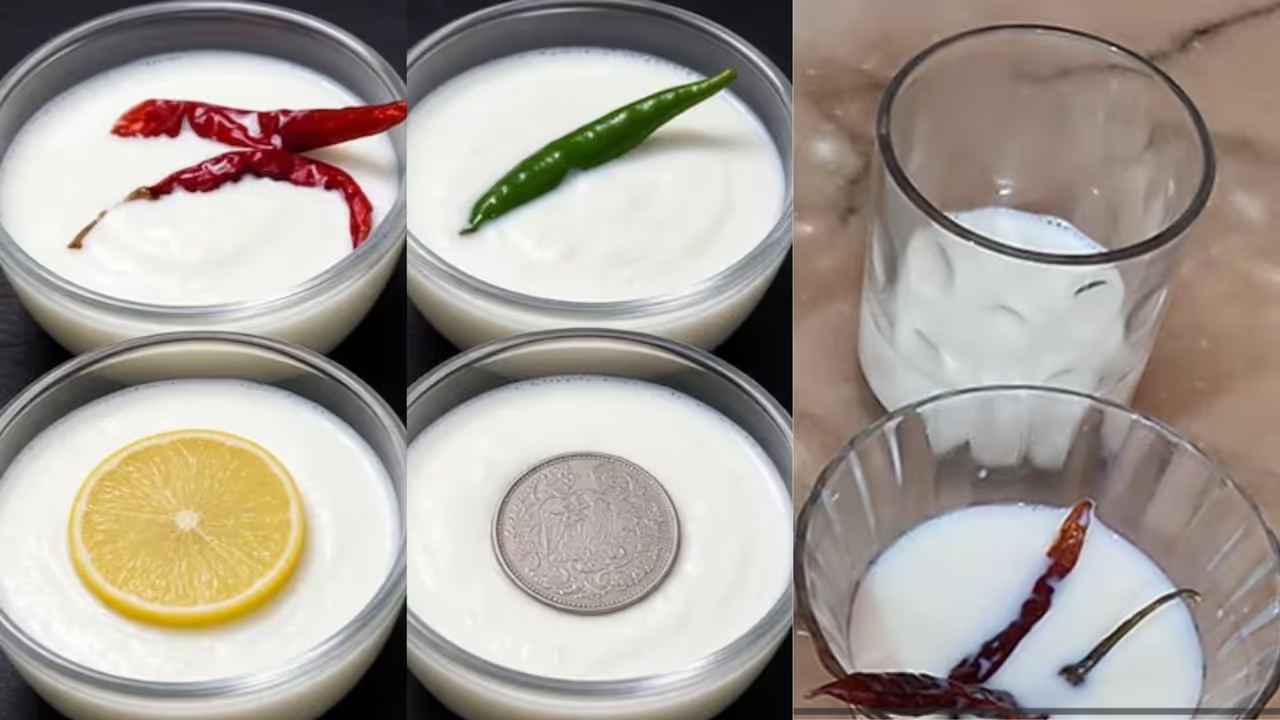
Making hotel-style thick curd at home is easy
Curd holds a special place in Indian kitchens. We eat it with rice and use it to make buttermilk and lassi. It also adds a special taste to dishes like biryani and kebabs.
People used to rear cows, boil milk, and set curd at home every night. Today, we depend on dairy shops and bring home Nandini packets. You can easily make thick curd at home instead. You just need two main ingredients: milk and a little curd. You must choose the right milk, heat it properly, and give it enough setting time to get that hotel-style creamy texture.


Ingredients needed for thick curd
You need 1 litre of full-fat milk and 1 teaspoon of curd as a starter. You can use ¾ to 1 tablespoon of starter during winter.
How to make thick curd at home
You must wash and clean a vessel first. Pour 1 litre of milk into it and boil it on a medium-low flame.
Reduce the flame once the milk starts boiling. Let it simmer slowly for about 10 to 15 minutes. You should stir it occasionally. Boiling the milk for some extra time makes the curd thicker and tastier. You can stir the milk frequently if you do not want a thick cream layer on top. Leave it alone if you want the cream.
Method to make thick curd
Take the vessel off the stove after the milk boils. You must let the milk cool down to a warm state. The milk should not be too hot, as high heat kills the curd-setting bacteria. The milk temperature should be around 110 to 115°F or 43 to 46°C. You can dip a clean finger into the milk to check if you do not have a thermometer. It should feel warm, not burning hot.
Next step:
Add 1 teaspoon of curd as a starter. Mix it well so the curd blends completely into the milk. Cover the vessel and keep it in a warm place for 6 to 10 hours. Do not move the vessel until the curd sets. Keep the vessel in the fridge once the curd sets well. The curd becomes even thicker after you keep it in the fridge.
Follow these tips for thick curd
You must use full-fat milk for thick curd. Low-fat milk usually makes the curd thin and watery.
Why does thick curd sometimes become sticky?
2. Boil the milk a little more:
You can increase the thickness of the curd by simmering the milk on a low flame for 10 to 15 minutes after it boils. Temperature plays a very important role. Do not add the starter when the milk is very hot. Completely cold milk will take a lot of time to set. Do not move the vessel until the curd sets. The curd might not set properly if you move the vessel frequently.
3. Keep it in a warm place
Curd takes more time to set in cold weather. You can keep the vessel inside a casserole or a thermocol box during such times. Wrapping a warm cloth around the vessel is the best idea.
Sometimes homemade curd becomes sticky instead of thick. The starter you use can cause this issue. You should avoid using Greek yogurt or already sticky curd as a starter. Milk quality is another reason. You can try another brand of full-fat milk if you face problems with one brand.
What to do if curd doesn't set well?
The milk, starter, and weather play a major role in setting the curd properly. You might sometimes need a little extra starter for homogenized milk. The required quantity can also change if your starter contains ingredients like gelatin. You will likely need slightly more starter than usual during the winter season.
Can we make curd without a starter?
Yes, you can. People in some rural areas follow a traditional method where they use dry red chilli stems instead of a curd starter. You must boil the milk and let it cool to a warm state. Drop 8 to 10 red chilli stems into every half to three-fourths cup of milk and keep it in a warm place. The curd might take about 5 hours or more to set using this method. You can then use this prepared curd as a starter for your next batch. The red chilli stems do not make the curd spicy.
Making curd in separate bowls
You can set the curd in small bowls instead of using one large vessel. This stops you from scooping curd from a big vessel every time and disturbing the rest of it. You can use about a quarter teaspoon of curd starter for every half cup of milk. Cover the bowls and leave them in a warm place to set.
Remember these points while making curd at home:
- You should always use full-fat milk.
- You must boil the milk well.
- You should simmer the milk for 10 to 15 minutes after boiling for thick curd.
- You must add the starter only after the milk becomes warm.
- You should mix the milk well after adding the curd.
- You must cover the vessel and keep it in a warm place.
- You should not move the vessel until the curd sets.
- You must keep the vessel in the fridge after the curd sets.
- The curd becomes even thicker after you keep it in the fridge.
You do not need huge preparations or special tools to make thick curd at home. You can easily make thick, creamy, and tasty curd if you use good quality full-fat milk, the right amount of starter, and the correct temperature. You should definitely try this at home.
Explore the latest Lifestyle News covering fashion, wellness, travel, Food and Recipes, and more. Stay updated with trending Health News, fitness tips, and expert insights to inspire your daily living. Discover personalized lifestyle trends that keep you stylish and informed. Download the Asianet News Official App from the Android Play Store and iPhone App Store for everything that adds value to your everyday life.